|
ADD ACTION BUTTONS
To check the work you've done so far, press F6 or go to Slide Show>View Slide Show. If all the links are correct, clicking a wrong answer will move you to an "Oops...!" slide. Clicking a right answer will move you to a "That's Right!" slide.
What happens, however, when a student goes to the "Oops..." slide. Don't you want the student to try to answer that question again? Use Action Buttons to move students back to a question they have answered incorrectly.
To create an Action Button:
- Press Esc to close the Slide Show View.
- Go to the first "Oops..." slide.
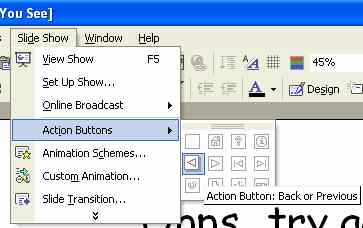
- In the menu bar at the top of the screen, click Slide Show>Action Buttons, and then click the arrow pointing left -- the "Back or Previous" arrow.
- In the lower right corner of the slide, click and drag with your mouse to draw the Action Button as big or as small as you want.
- When you finish drawing and release the mouse button, the Action Settings window will appear. That window allows you to choose what will happen when an Action Button is clicked.
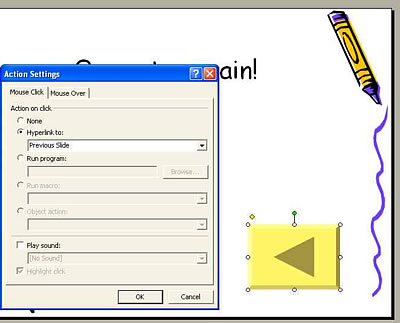
- On the "Oops..." slide, you want the button to take a student back to a question he or she has answered incorrectly. So, click Hyperlink to: Previous Slide, and then click OK.
- Repeat the steps above for the second "Oops..." slide.
Next: More Action Buttons!
|