KEEP STYLIN'
Let's take the look of our flowchart up another notch by substituting clip art and photos for boxes and shapes!
- Click Insert > Picture > Clip Art. The Microsoft Office Clip Art Gallery should appear. Look for an image
of a school bus. If you can't find one in the gallery on your computer, click the Online (or Globe) button
to access Microsoft's online Clip Art Gallery.
To use an image from the online gallery, check the box below the bus; click Download; read the License Agreement and click Agree; and then click Download again if necessary. You also can right-click the image and then copy and paste it into the document (PCs), or, on a Mac, drag the bus from the Web site to the document.
- You might not see the school bus immediately after inserting it into the document; be sure to click the Draw (or Arrange) icon and select "In front of text" or "Move to the front."
- Note: When using clip art or photos, Microsoft Office wants to force the image into a line where text would be, preventing you from moving the picture wherever you want. To counteract that, double click the image of the school bus, and when the Format Picture window (pane) appears, click Layout, select Tight, and click OK.
- Delete the original autoshape and put the school bus in its place. Click the Text box icon and type, "The school bus drove us to the zoo."
- Replace the other three boxes with either clip art or photos.(Look for resources for educator-friendly photos at Free
Photos on the Web or Discovery School's
Clip Art.
-
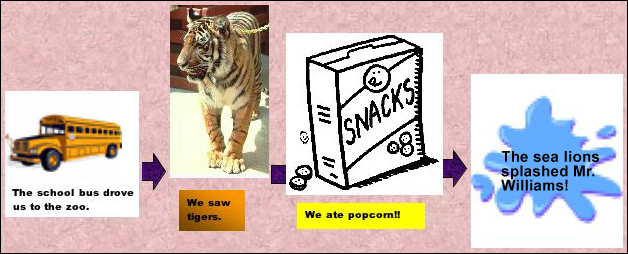
This is what your chart might look like now:
Next: Classroom ideas!
|