|
To format the watermark,
- Click inside the Center Section again and then click the Format Picture icon.

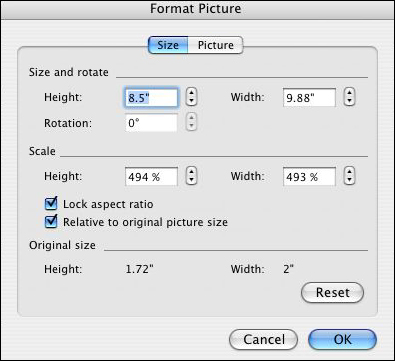
- You'll now see the Format Picture window/pane. Change the height and width of the image to fit the spreadsheet
orientation. For example, if the orientation is portrait, the height should be close to 11 inches. If the
orientation is landscape, the height should be close to 8 inches. Excel automatically will change the width
to conform with the selected height. Keep the Lock Aspect Ratio and Relative to Original Picture Size boxes
checked; they will keep the picture from becoming distorted as you increase the size.
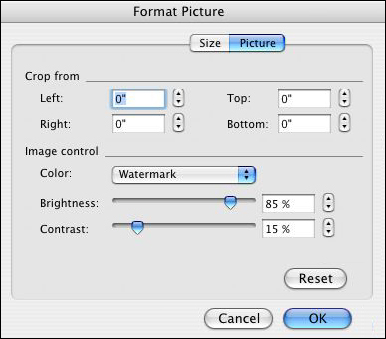
- Click the Picture tab and change the Color under Image Control to "Watermark." You can play with the Brightness
and Contrast later once you've seen what the watermark looks like.
- Click OK.
Still don't see the watermark? You need to type some data into a cell to see the watermark. On some versions of
Office, in fact, you need to actually go to File > Page Preview to see the header (or, in this case, the watermark!).
If you like, you now can go back to View > Header and Footer > Customize Header > Format Picture and experiment
with some of the settings.
Next: Using Text in the watermark.
|