|
STEP THREE: ADD CLIP ART, BORDERS, BOXES
Now, it's time to jazz up the newsletter!
To add a photograph or clip art:
To add a border:
- Click Format > Borders and Shading, and choose the Page Border tab.
- Click the drop-down menu under Art and select a border. (Note: Choose a border that is fairly small and simple -- especially if you have several pieces of clip art. A line or two will give your newsletter distinction without cluttering it up.)
Boxes draw attention to important features, such as upcoming deadlines. To add a box:
- Click the rectangle icon on the Drawing toolbar, and then click near the article or information you want to draw a box around. Draw the box. (Note: If you don't see the Drawing toolbox, click View > Toolbars > Drawing.)
- Click the paint can and choose No Fill (so the white paint in the rectangle won't hide the text.)
- Use the line tool on the Drawing toolbar to select desired line width, color, and pattern.
- To add a soft background color to the box, click the menu next to the Paint can icon and choose a color. Click Fill Effects > Texture to choose a fun patterned design, such as parchment.
- To make sure the text still is legible, click the first icon on the Drawing toolbar (PC users click Draw, and then click Order > Send Behind Text; Mac users click the blue A in front of the brown box, and then click Arrange > Behind Text.) and go to Arrange > Behind Text.
- The newsletter now might look something like this:
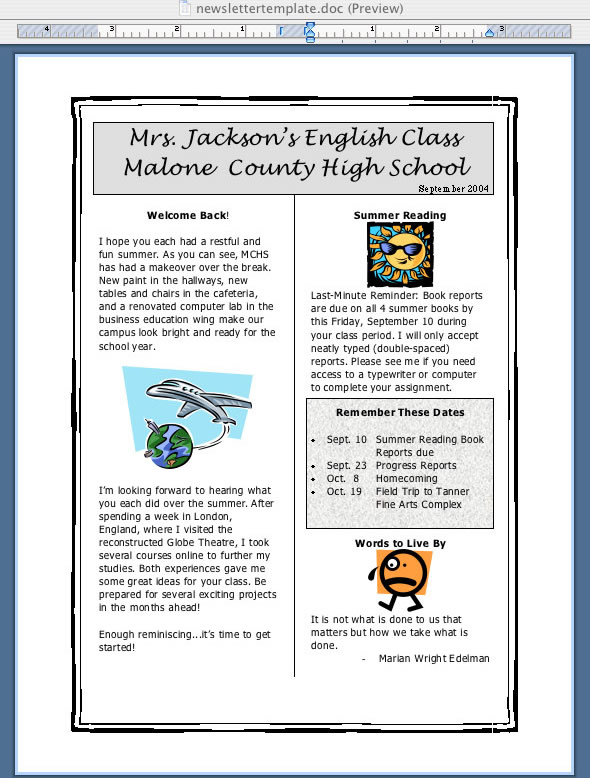
- Save your work.
Print copies of the newsletter for students to take home, post the newsletter to a bulletin board, and/or upload it to your Web page.
Next: Tell me more.
|