|
STEP THREE CONTINUED
- Click the screen shot in the Word document. Small black squares will appear around the edges of the image.
- Click the cropping tool.

- Click and hold a black square on the edge of the screen shot. Drag the edge toward the part of the screen shot you want to use. Release the mouse button.
[Insert rightcrop6]
- Click a square along another edge of the screen shot and drag that edge toward the part of the screen shot you want to use.
- Continue cropping the screen shot until you only see the part of the image you want to use.

You did it!
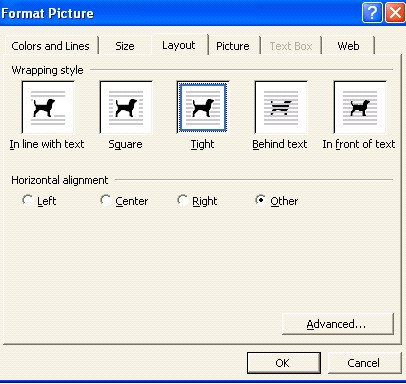
Now that you have the image you want, you can use Word's formatting features (such as centering or indenting) to move your screen shot within the document.(Hint: If the screen shot doesn't move exactly where want it to, double-click the image to open the Format Picture window. Choose the Layout tab, click Tight, and then click OK. Drag the shot to wherever you want it in the document.
Next: Saving screen shots.
|