| A TECHTORIAL |
|
STEP TWO CONTINUED: THE FURNITURE
After you've made all the student desks, you might want to straighten the rows a bit. To do that:
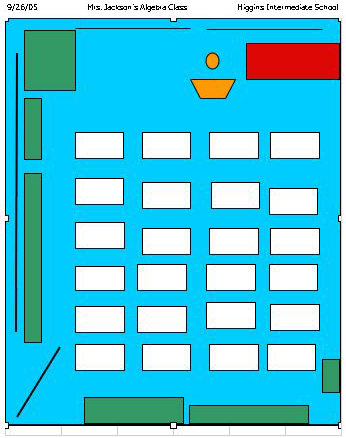
Finally, you can format the size of the furniture to correct the dimensions of the room: Double-click any piece of furniture to open the Format Object window and then type in a precise size for that object. To make things easier to calculate, you might want to consider reducing the size of items on the chart to a 100th of the size of the actual piece of furniture. (A desk measuring 37 inches wide would be .37 of an inch on the schematic, for example.) Don't forget to save your work. Your seating chart might look something like this: Next: Who sits where?
|