|
STEP ONE: INSERT THE IMAGE
Before beginning your labeling worksheet, decide on a topic for the activity. For the purposes of this techtorial, we'll label the major bones of the human skeleton, but you can substitute any topic you wish.
Next, choose an image to label. You can use photographs you or
your students have taken, graphics you've found on the Internet,
or any other image you've saved to your computer. You even can have
students draw a picture to be labeled! Be sure you've saved the selected image to your computer. If the
image is on the Internet, right click (or CTRL click on a Mac) and
select Save or Download to save it to your computer's hard drive.
For our sample techtorial, go to O'Dem
Bones, the Indianapolis Marion County Public Library's Bone
Quiz and save the unlabeled skeleton image to your computer.
Whatever image you choose, you'll need to follow the steps below to insert the image into the labeling worksheet.
- Open a new Excel spreadsheet.
- Click Format>Sheet>Background, and then browse to find your image. Click Insert to insert the image into the spreadsheet.
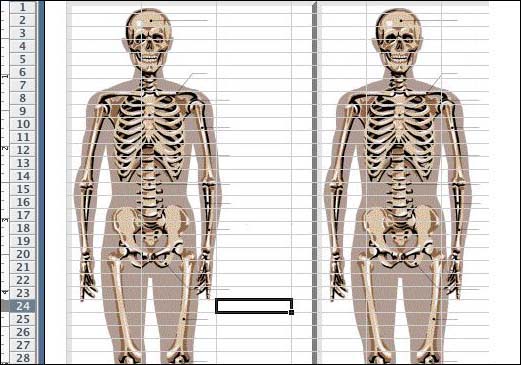
Note: The image is inserted as a background so students cannot move
or otherwise tamper with it. However, as you see, the image
is duplicated over and over again on the spreadsheet. Depending
on the size of the image, that duplication might occur once
on every page, one-and-a-half times per page, or more! Here's
what the skeleton image looks like:
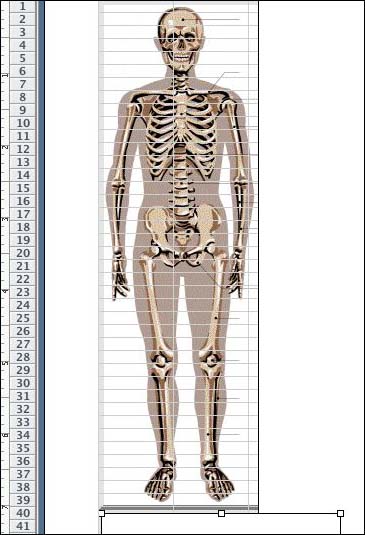
- You'll need to hide the duplicated images on the first page
of the spreadsheet. To do that, choose View>Page Layout and make
sure the Drawing toolbar is visible. (If it isn't visible, click
View>Toolbars>Drawing.)
- Click the square icon in the middle of the toolbar, and draw
several rectangles to cover the extra skeletons on the first page
of the spreadsheet. (Note: Color the rectangles with white ink
from the paint can icon. to If you choose another color, you'll
waste a lot of ink when printing.)
- Highlight all the cells on the first page of the spreadsheet
and click File>Print Area>Set Print Area. (That will prevent students
from accidentally printing lots of pages.) Your first page should
now look like this:,
 Next:
Adding labels.
|