|
Walk students through the following steps to post their reports to the Web.
- Go to www.4teachers.org.
- Click Project Poster (located at the bottom of the list of icons on the right side of the page).

- At the bottom of the page, click Take a look at the pages created since yesterday to see what the
final product might look like.
- Click Build My Project (the gray button in the peach box in middle of the page).
- Click Begin.
- Complete the fields on the following page, including your first name only, your teacher's last name, a password,
and your area code. Click Next.
- Copy and paste from a word processing program the project title, subtitle (optional), and text. Click Next.
- Add the URLs of Web sites that either were used for research or could be used by the viewer for additional
information. The "label" is the actual name of the Web site, such as "Education World." The URL is the Web
site's address, such as "http://www.educationworld.com."
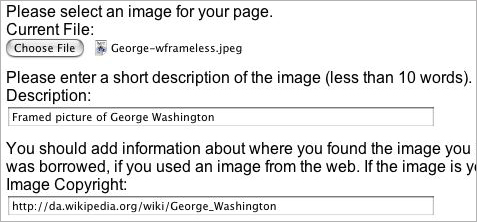
- To add an image, click Choose File, select the saved image, and then click OK.
- Type a short description of the image. If the image is copied from a Web site, be sure to include the URL.
If you created the image, type your name and the year.
- Click Build My Page. If you get an error message, you might have to select a smaller image or choose
an image in a different format. You also can contact the Web site administrators for help.
You're not finished yet! Be sure to write down
- the Poster ID#. This will be needed to edit the page later.
- The Poster URL. This will be needed so family and friends can visit your page!
Next: Viewing and learning from projects.
|