|
FORMATTING MACRO CONTINUED
- Go to Tools > Macro > Record New Macro, to open the Record New Macro window, and then type HistoryClassFormatting in the Macro Name field.
- In the Record window, click the Toolbar button to open the Customize window. This time, we're going to assign to our macro a toolbar button instead of a key combination.
- In the Customize window, choose the Commands tab and find the phrase Normal.NewMacros.HistoryClassFormatting.
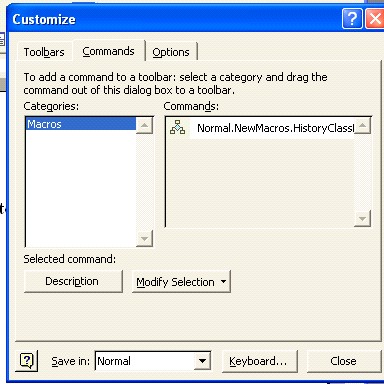
- Click the three-box diamond icon to the left of Normal.NewMacros.HistoryClassFormatting, and drag the icon to a toolbar at the top of the Word window.
(Note: If the words Normal.NewMacros.HistoryClassFormatting instead of the three-box diamond appear in the toolbar, click Modify Selection in the Customize window and select Default Style. Or, if you want an icon other than the three-box diamond, click Modify Selection > Change Button Style and choose from happy faces, hearts, piggy banks and more!)
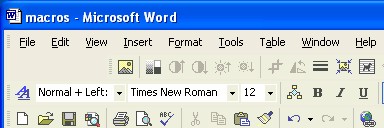
- Close the Customize window. (Notice the tape recorder and tape case icons. They mean that you are now recording a macro, so be careful!)
- Complete the following commands:
- Press CTRL and A at the same time to highlight all the text.
- Choose Times New Roman.
- Choose 12 point font.
- Choose left align.
- Choose black ink.
- Click the square in the recording box to stop recording. (Or click Tools > Macro > Stop Recording.)
Now, test your macro: Type any text; change the font, size, color and alignment, and then click the macro icon in your toolbar. The text formatting should change to Times New Roman, 12 point, left align, and black.
Next: Learn more!
|